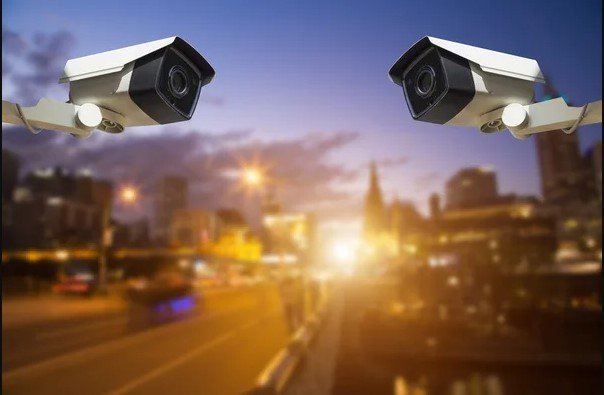
how to install and configure a CCTV Camera
Installing and configuring a CCTV camera involves several steps, including planning, installation, and setup. Here’s a comprehensive guide to help you through the process:
1. Planning the Installation
- Determine Coverage Area: Identify the areas you want to monitor.
- Choose the Right Camera: Depending on your needs, you can choose between dome cameras, bullet cameras, or PTZ (Pan-Tilt-Zoom) cameras.
- Consider Lighting Conditions: Ensure the cameras are suited for the lighting conditions of the area (e.g., low-light cameras for nighttime surveillance).
2. Gathering Tools and Equipment
- CCTV Camera(s)
- DVR/NVR (Digital Video Recorder/Network Video Recorder)
- Cables: BNC cables, power cables, or Ethernet cables (if using IP cameras).
- Power Supply Unit (PSU)
- Monitor: For viewing the footage.
- Drill and Screws: For mounting the cameras.
- Cable Clips and Ties: To secure cables.
3. Installing the Cameras
- Mounting the Camera:
- Choose a stable surface to mount the camera.
- Use the drill to make holes for screws and wiring.
- Attach the camera using screws and brackets provided.
- Routing the Cables:
- Run the cables from the camera to the DVR/NVR or monitor.
- Secure the cables along walls or ceilings using cable clips.
4. Connecting the Cameras to DVR/NVR
- Analog Cameras (DVR Setup):
- Connect the camera’s BNC cable to the DVR.
- Connect the camera’s power cable to the power supply unit.
- Plug the DVR into a monitor using an HDMI or VGA cable.
- IP Cameras (NVR Setup):
- Connect the camera to the NVR using an Ethernet cable.
- If the camera is PoE (Power over Ethernet), it will receive power through the Ethernet cable; otherwise, connect a separate power supply.
5. Powering the System
- Powering the Cameras: Ensure each camera is connected to a power source.
- Powering the DVR/NVR: Plug the DVR/NVR into an electrical outlet.
6. Configuring the CCTV System
- Initial Setup:
- Turn on the DVR/NVR and monitor.
- Follow the on-screen prompts to set up the system, including language, date, time, and password.
- Camera Configuration:
- Adjust the camera angle and focus as needed.
- Set up motion detection, if supported.
- Configure recording settings (e.g., continuous, motion-based).
- Network Setup (for remote viewing):
- Connect the DVR/NVR to your router using an Ethernet cable.
- Enable remote access in the DVR/NVR settings.
- Download the manufacturer’s app or use a web browser to access the camera remotely.
- Set up port forwarding on your router if needed.
7. Testing and Final Adjustments
- Test Each Camera: Ensure that each camera is providing a clear image and is recording properly.
- Check Remote Access: If configured, verify that you can view the feed remotely.
8. Maintenance
- Regularly Check the System: Ensure all cameras and the recording system are functioning.
- Clean the Cameras: Periodically clean the lenses to ensure clear footage.
- Update Firmware: Keep the DVR/NVR firmware updated for security and performance.
Additional Tips
- Backup Power: Consider using an Uninterruptible Power Supply (UPS) to keep the system running during power outages.
- Secure the System: Change default passwords and ensure your network is secure to prevent unauthorized access.
This should cover the basics of installing and configuring a CCTV camera system. Let me know if you need more specific details or have any particular requirements!

